
Owning a home projector was once a luxury that cost hundreds of dollars, but nowadays, they are more affordable and accessible. With a broader range of retailers offering projectors, setting up a home theater is easier than ever.
However, installing a projector differs from setting up a traditional television because you must consider image quality, sound, and overall comfort. To get the best experience, here are five ways to enhance your home projector setup.
1
Optimizing the Placement of Your Projector

When unboxing your projector, the first challenge is deciding where to place it for optimal viewing pleasure. You have two primary options: ceiling mounting or putting it on a table or shelf.
Mounting the projector on the ceiling saves space and provides excellent stability. It also prevents accidental movement that could require frequent realignment and keeps cords and equipment out of the way, creating a cleaner setup.
Alternatively, placing the projector on a table or shelf offers more flexibility, making it easier to adjust or move as needed. If you go this route, ensure the surface is stable and positioned at the appropriate height to maintain a clear and adequately aligned image.
While a blank wall may seem convenient when choosing where to project your content, a projector screen provides better brightness, contrast, and overall image quality.
When choosing, consider an ALR (Ambient Light Rejecting) screen for the best results, which helps maintain sharp visuals even in rooms with natural light. If you prefer to project onto a wall, ensure it’s smooth, free of imperfections, and painted with high-quality screen paint designed for projection.

Related
The Best Projector Screens of 2024
Upgrade your home movie nights with these fantastic projection screens!
2
Enhancing the Image Your Projector Produces

One of the main reasons for investing in a projector is its large screen size and picture quality, making it essential to optimize and maintain these aspects for the best viewing experience.
Start by manually calibrating the picture settings. Factory defaults may not be ideal for your environment, so adjust the brightness, contrast, color temperature, and sharpness to suit your space.
Most projectors have different color modes, such as “Warm,” which makes colors appear more natural, and “Cool,” which gives whites a bluish tint. Be sure to choose the mode that best complements your viewing environment.
If your room remains bright even with the lights off, use blackout curtains to eliminate excess sunlight and improve contrast. However, if you don’t want to use blackout curtains, consider installing motorized blinds to create a dark environment.
Additionally, avoid placing the projector in direct sunlight, as it can reduce clarity and diminish image quality. At the same time, maintaining the projector is just as important, so regularly clean the lens with a microfiber cloth to prevent dust buildup that could blur the image.
It’s crucial to use a microfiber cloth when cleaning your screen. Microfiber cloths prevent scratches, effectively remove dust, and help maintain optimal image quality.
Regular cloth, paper towels, or tissues can be too harsh, potentially damaging the screen and reducing sharpness. An ultra-soft microfiber cloth ensures a safe and thorough cleaning of delicate surfaces.
3
Crafting an Upbeat Audio Experience

Image quality is crucial when setting up your home projector, but audio is just as important. Whether you’re watching movies, TV shows, or playing games, high-quality sound enhances the experience.
Most projectors have built-in speakers, but they typically lack depth and power. To upgrade your audio experience, consider external speakers. A soundbar is a simple and effective option, while a full surround sound system—such as a 5.1, 7.1, or Dolby Atmos setup—offers the most immersive experience.
Once you choose which speakers to use, proper speaker placement is key. To enhance bass, position the front speakers at ear level and the subwoofer near a wall or corner. Additionally, to further improve sound quality, use rugs, curtains, or acoustic panels to minimize echoes and prevent audio distortion.
While wireless is convenient for its flexibility in placement range from the projector, I recommend a wired connection for the best sound quality and synchronization. HDMI ARC, optical audio, or an AV receiver will provide a stable connection and reduce lag, which can sometimes be an issue with Bluetooth speakers.

Related
9 Ways to Repurpose Your Old Speakers
Found some old speakers in your basement? Put them to good use.
4
Reduce Safety Risks by Managing Cables and Power
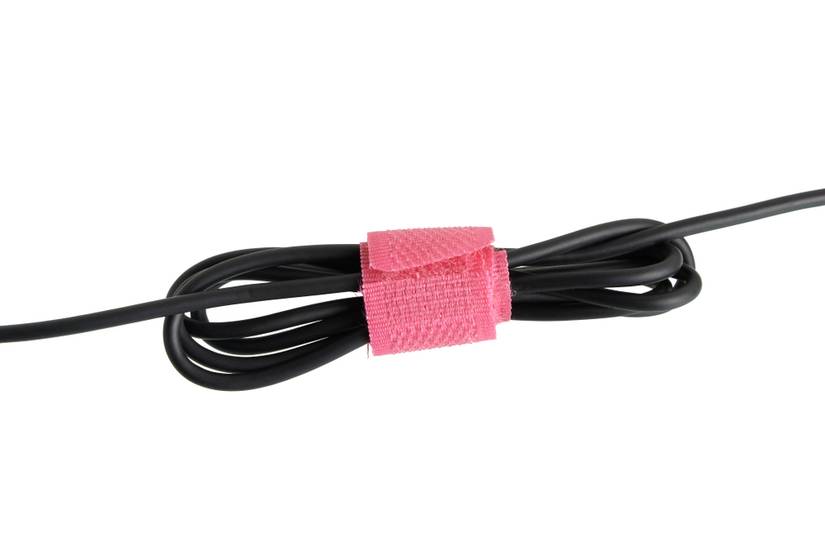
Once your projector, image, and speakers are set up, tidying up and organizing your cables is essential to maintaining a clean and safe space.
Using cable management tools can help keep wires neat and prevent a cluttered setup. By maintaining proper organization, it improves aesthetics and reduces the risk of tripping hazards that could damage your projector or other equipment.
Additionally, a tripping hazard isn’t just a risk to your equipment—it can also lead to serious injury. Tripping on a wire connected to a projector or other device could cause it to fall toward you, leading to potential harm from both the impact and the fall.
To prevent this, keeping your setup clean and organized and ensuring cables are secured and out of the way is crucial. Using cable clips, raceways, or even wireless solutions can help maintain a safe environment while keeping your projector area neat and functional.
Beyond cable management, a surge protector is essential to safeguard your projector from power fluctuations. Additionally, ensure your power source can handle the projector’s wattage—an inadequate power supply can cause flickering or unexpected shutdowns.
5
Maintaining the Longevity of Your Projector

Maintaining your home projector is just as important as setting it up. Regular upkeep ensures longevity, optimal performance, and a consistently high-quality viewing experience.
To prevent dust accumulation, clean the projector regularly—especially the lens, vents, and filters. Dust buildup can reduce image clarity and hinder cooling efficiency, leading to overheating and performance issues.
If your projector uses a lamp, monitor its lifespan and replace it before it dims too much. A weakened lamp forces the projector to work harder, increasing heat output and shortening its lifespan. Keeping the projector in a well-ventilated area also helps prevent overheating, which can damage internal components.
Beyond physical maintenance, keeping the projector’s firmware updated is crucial. Updates often include bug fixes and performance improvements that enhance functionality.
If you experience blurry images, overheating, or audio lag, try troubleshooting by cleaning the lens, adjusting settings, or checking cable connections before seeking repairs.
Applying these tips on projector placement, accessory pairing, and maintenance can help you create the ultimate home projector setup. While installation is crucial, regular upkeep ensures long-term performance and reliability.
Projectors offer several advantages over traditional televisions, including larger screen sizes and a more immersive viewing experience. However, they also require careful setup and ongoing maintenance to function at their best. Despite these extra steps, the superior picture quality, flexibility, and enjoyment make the effort worthwhile.